
CNY Goodies Review
How to Make Homemade Love Letters [Recipe]
Dec
In this guide
Source: Pexels
Homemade love letters are thin coconut wafers cooked in a heated mould and shaped while still warm. The batter is only one part of the job: the mould, the amount you pour and the moment you roll each wafer all matter.
This guide keeps the ingredient quantities and core method from our existing love-letters recipe, with clearer preparation notes and checks for your first pieces. It describes home baking, rather than claiming to reveal the formula for the ready-made products in our store.
For another festive baking project, see how to make homemade pineapple tarts. Make one recipe at a time so that each has the workspace and attention it needs.
Source: Pexels
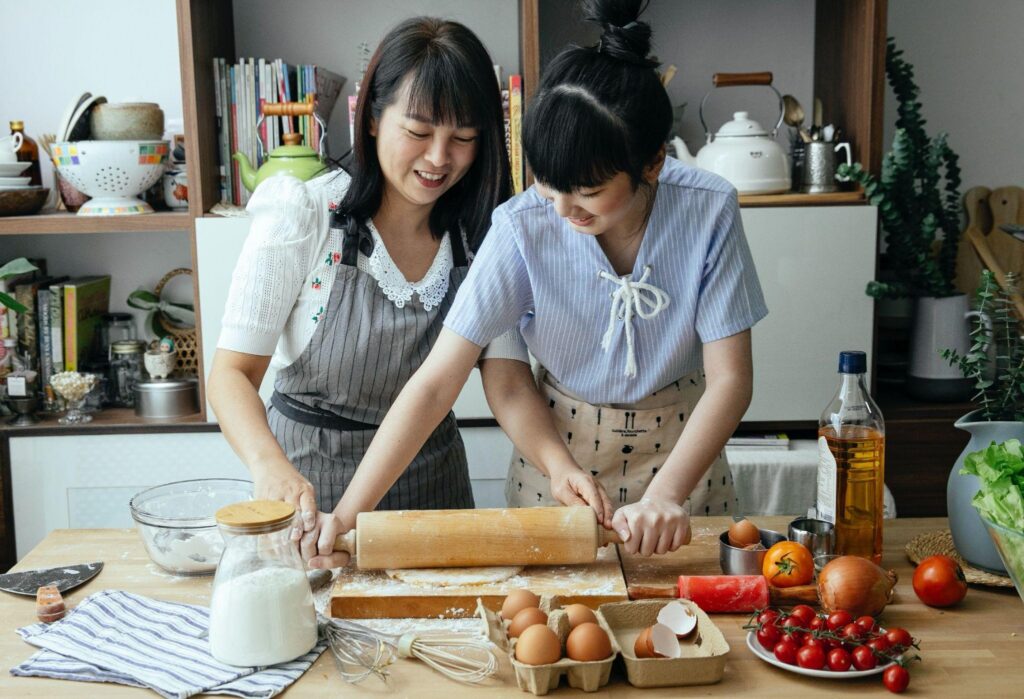
Rolled love letters and folded kuih kapit
Love letters can be rolled into tubes or folded. The peanut kuih kapit pictured below is a folded variation; it is not a photo of the unfilled rolled recipe that follows.
In Poh Ling Yeow’s coconut love-letters recipe on SBS Food, the cooked wafer is shaped immediately after it comes out of the maker. Her formula is different from this one, but it illustrates the same need to have your shaping space ready before cooking.

Set up before mixing the batter
Prepare two mixing bowls, a whisk, a scale, a measuring jug and a spoon for portioning. Have your love-letters mould or suitable thin-wafer maker ready, along with the tools specified by its manufacturer for removing and shaping the wafers.
- Read the maker’s instructions first. Check how it should be preheated, greased, closed and opened. A deep-pocket waffle machine is not automatically interchangeable with a thin-wafer mould.
- Keep the shaping area clear. Put the rolling or folding tools within reach before you cook the first piece.
- Keep quantities consistent. Use the same spoon and portion for the first few pieces so that you can compare the results.
- Start with the plain version. The optional extract or colouring can wait until you understand how the basic batter cooks in your mould.
SBS Food’s method notes that the amount of batter depends on the maker being used. Treat this site’s tablespoon measure and timings as the starting instructions for its existing recipe, and follow your equipment’s directions.
Love-letters recipe: ingredients
Recipe note: This is the ingredient list previously published on this page. It uses 110 g tapioca flour and 3 g rice flour; those amounts have been preserved, not replaced with another author’s formula. The original estimate is around 30 pieces, but the mould size and portion affect the result. This update is not a new test-bake or a guaranteed yield.
- 1 egg (the large one the better)
- Cane sugar (80 gram)
- Tapioca flour (110 gram)
- Rice flour (3 gram)
- Coconut milk (200 ml)
Optional: the original recipe allows ¼ teaspoon of coffee extract or food colouring. Begin with the plain batter if you want to compare the colour of successive pieces.
Prepare the mould according to its manufacturer’s instructions before cooking.
Mix the batter
- Mix all the flour into one mixing bowl. On the other side, crack the egg and put it along with sugar to another mixing bowl. Whisk the egg and sugar until the sugar dissolves.
- Pour the egg mixture into the flour mixing bowl and pour the coconut milk into it.
- Stir the mixture until you get a batter with a smooth texture.
- [Optional] add the coffee extract or food coloring into the batter.
Cook and roll the love letters
- Preheat the mold maker and do not forget to apply some oil to the mold plates (you can use spray non-stick coating too).
- Pour the batter into the mold (1 tablespoon is the ideal measurement) and close the lid for around 1 minute. Please do not eat the first batch of the batter that you made.
- Do the same step for the second batch. After opening the lid, you can take a look at whether there is excess batter outside the mold or not. If you find some, you can sort it out by cutting it slowly. After that, close the lid again for one more minute.
- If you see the batter are now turning into golden brown (or following the food coloring or extract you use), then the mission is success! However, if your batter still looks a bit pale, then you can close the lid and wait for around 15 seconds.
- Go roll it while it is still hot.
- Your own Love Letters are ready to be served!
Watch the colour as each wafer cooks and avoid over-baking it. The timings depend on your maker; do not leave a piece unattended while preparing the next step.
Source: Pexels
What to check while cooking
The original method above uses roughly one minute, another minute after checking and trimming, then a further 15 seconds if needed. Different makers can behave differently. Keep watching the wafer rather than treating the timer alone as proof of a finished piece.
If batter runs outside the mould
Check the portion against the size of the plates. The method already includes trimming the excess. Note how much you used and adjust the next portion to suit your maker, following its instructions.
If the wafer breaks when rolled
Have the shaping tools ready before opening the maker, then roll the wafer promptly. As MyKitchen101’s kuih kapit method explains, the wafer hardens quickly as it cools. If you prefer a folded shape, the timing still matters: folding is also done straight after cooking.
If one piece looks different from the next
Compare the amount of batter, the heating setting and the time in the mould. Change one variable at a time so that you can tell what helped. Do not change the flour ratios halfway through the batch to compensate for an equipment setting.
Cool, pack and choose your serving style
Allow the shaped wafers to cool before packing them in an airtight container. Homemade shelf life depends on your recipe, preparation and storage, so a fixed number of days is not given here.
For a ready-made option, compare Golden Egg Roll Love Letters, Peanut Folded Love Letters and White Sesame Folded Love Letters. The home recipe above is an unfilled version; it does not describe the ingredients of these separate products.
If you are taking snacks to a visit, the CNY gifting guide helps you choose a selection around the recipient.
Homemade love letters: common questions
Do I need a special love-letters mould?
A maker designed for thin wafers is the appropriate starting point. SBS Food also describes suitable pizzelle or flat-wafer equipment. Check the manufacturer’s directions before using an alternative; not every waffle maker produces the same thin result.
Can I fold the wafers instead of rolling them?
Yes, cooked love letters may be folded or rolled. Shape them promptly after removing them from the maker. The photograph of peanut kuih kapit shows a folded product, but no peanut filling is included in this recipe.
Will I get exactly 30 pieces?
The original page gives around 30 as an estimate. Your portion size and mould determine the actual number. Count your finished batch before deciding how many containers to fill.
Should I use a different flour ratio from another recipe?
Follow one complete recipe rather than combining its flour amounts with another recipe’s liquids and eggs. Different published love-letters recipes use different formulas. The amounts here are retained from this page’s existing recipe.
Is the recipe the same as the products in the shop?
This guide makes no claim to reproduce a commercial product. Read the current product page for its own details, especially when choosing a flavoured or filled variation.
More CNY shopping guides
Make choosing, gifting and planning a little easier.
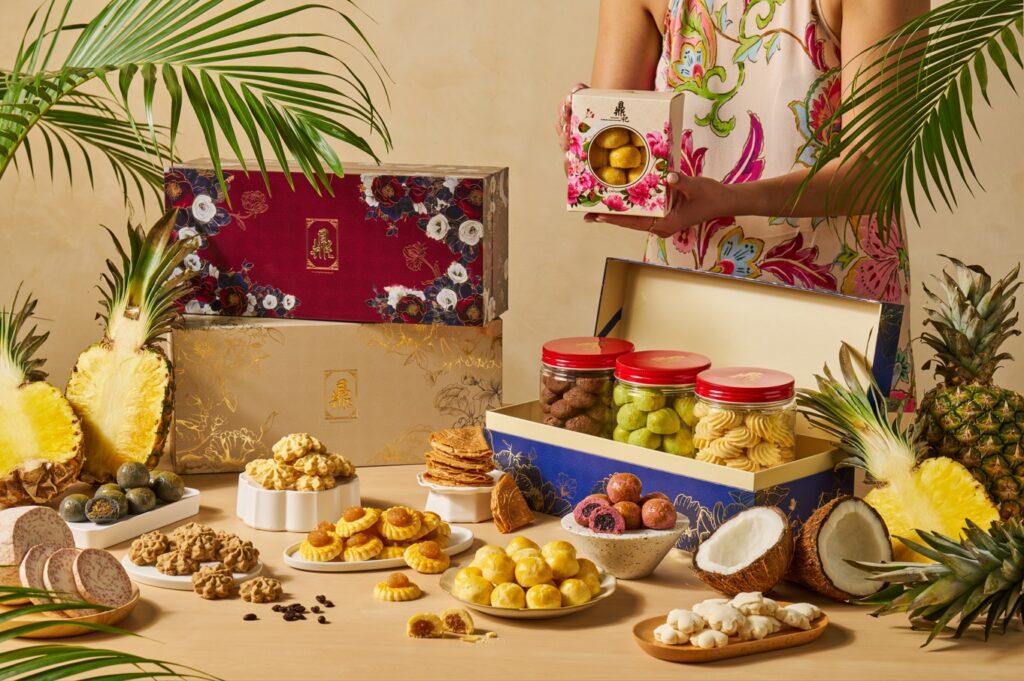
Best CNY Goodies for Gifting Family, Friends and Clients
Choose goodies for family visits, friends and business gifts.
Read guide
Budget CNY Goodies Singapore: Best Value Festive Snacks Without Compromising Taste
Compare your options and plan a selection around your budget.
Read guide
How Many Jars of Pineapple Tarts to Buy for CNY Visits in Singapore
Plan quantities for visiting, gifting and sharing at home.
Read guide
 WhatsApp Us Now